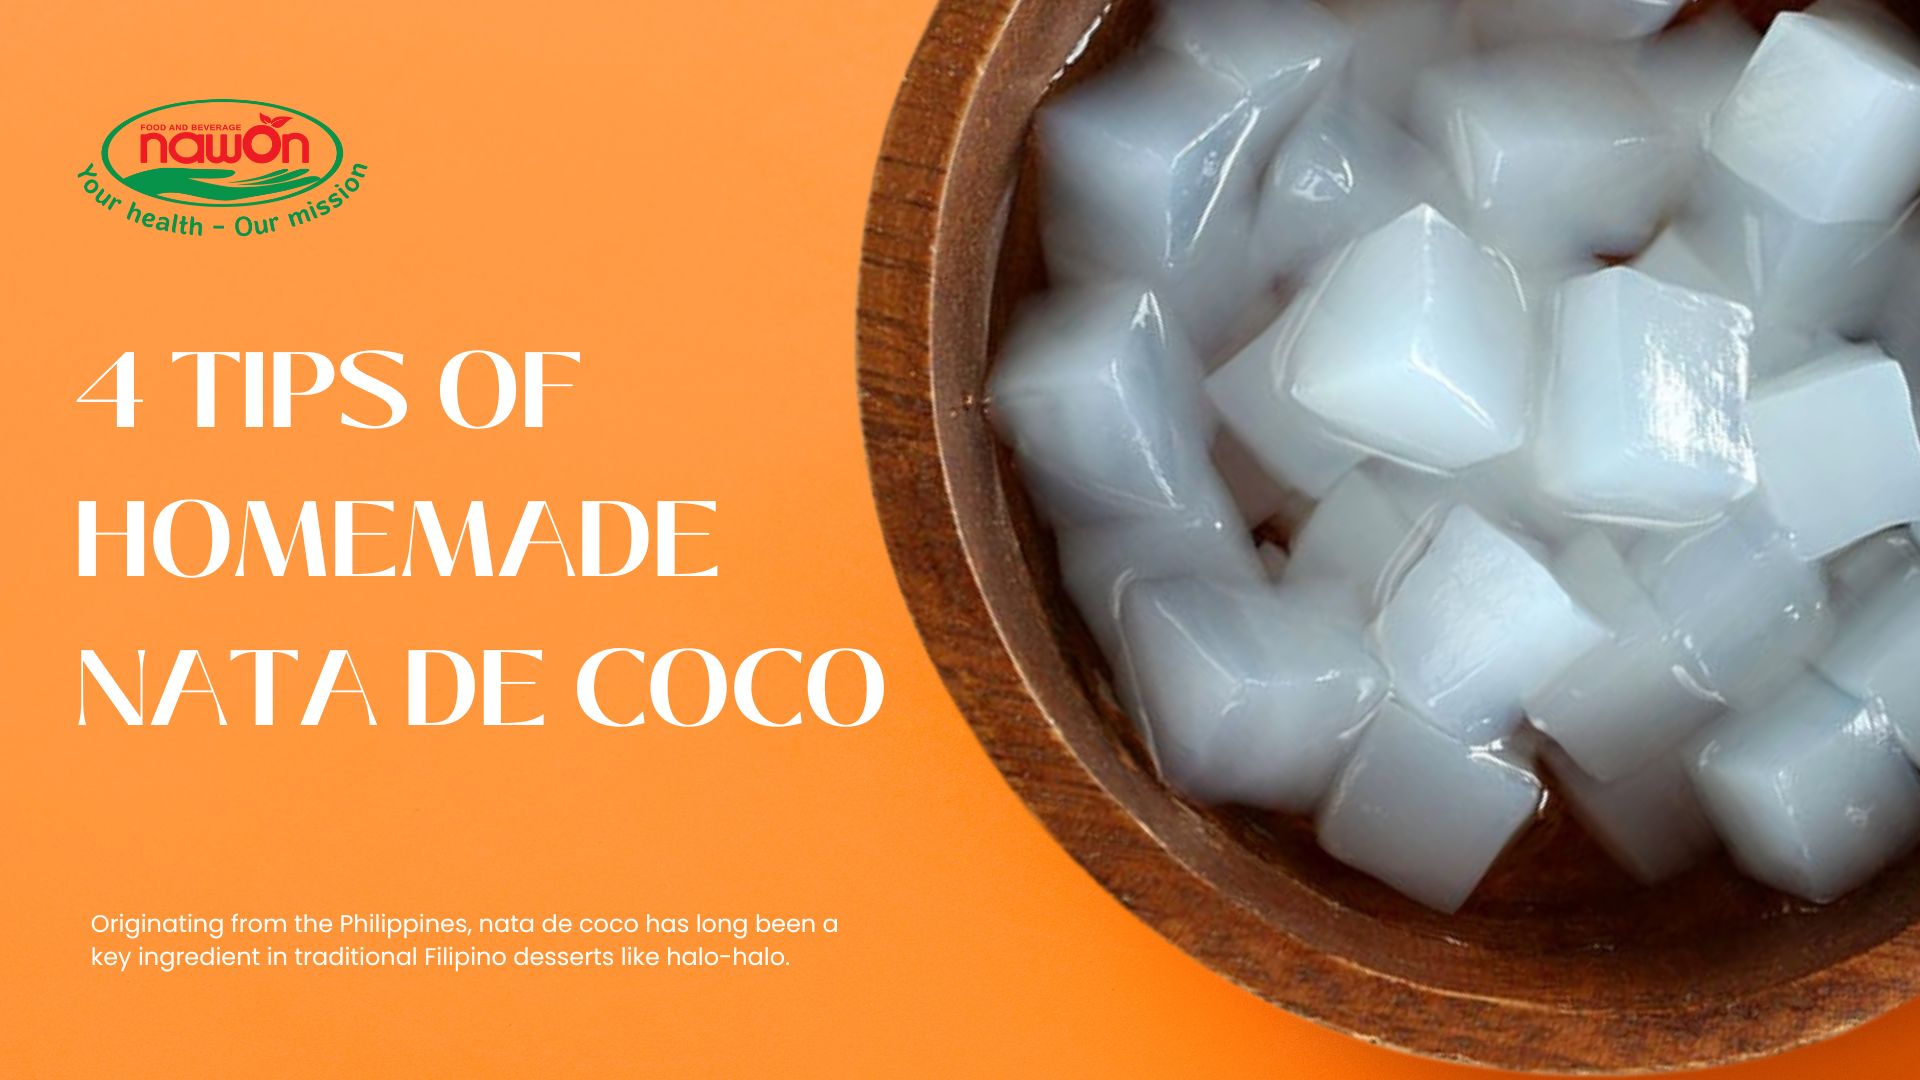
Experience the fun in dessert with this homemade nata de coco recipe. Don’t miss the opportunity to explore famous Southeast Asian delicacies in your home. Start making delicious nata de coco drink with us now.

4 Tips for Making Homemade Nata de Coco
Originating from the Philippines, nata de coco has long been a key ingredient in traditional Filipino desserts like halo-halo. It also finds its way into ice creams, yogurts, and bubble teas, adding a delightful touch. Don’t miss out on the deliciousness and versatility of this dessert! With the following helpful tips, you can easily make nata de coco and fully savour it in your home.
- Opt for fresh coconut flesh: For a more flavorful experience, use fresh coconut flesh instead of pre-packaged grated coconut flakes or coconut milk. Grating the coconut yourself ensures juicier, sweeter, and fresher coconut flakes, which can be strained through cheesecloth.
- Minimize movement during fermentation: To achieve successful nata de coco, avoid moving the jars around once they’re set for fermentation. Keep them in a stable location at room temperature, away from direct heat or sunlight during the growth period.
- Soak the nata de coco in water: After the fermentation process is complete, you may notice a sour or acidic taste and smell. To address this, we recommend soaking the nata cubes in multiple changes of water for at least 2 days. This helps remove any unwanted flavors.
- Boil for a softer texture: If you find the nata cubes too firm for your liking, boiling them in water for 5 to 10 minutes can help soften their texture. This step also aids in reducing any residual sourness.
By following these tips, you can create your own batch of homemade nata de coco, ensuring a delightful and enjoyable dessert experience.
Ingredients:
- 1 kg fresh coconut, grated
- 1¼ cups glacial acetic acid
- 3 cups refined sugar
- 2 cups coconut water or coconut juice
- 12 L tap water
- 2 L nata starter
Note: The quantities mentioned above are for a larger batch of nata de coco. You can adjust the measurements according to your desired yield.
Instructions of making Homemade Nata de Coco
Unleash your culinary creativity by preparing homemade nata de coco with this straightforward recipe. You’ll discover the joy of incorporating this delightful treat into a wide range of dishes, including salads, cakes, ice cream, and beyond!
Instructions:
- In a bowl, mix the grated coconut with water. Use enough water to fully immerse the coconut. Allow the mixture to sit for a few minutes to let the flavors infuse.
- Strain the coconut mixture through a cheesecloth or fine mesh sieve, squeezing out as much liquid as possible. Discard the solid coconut pulp and retain the coconut water.
- To the coconut water, add glacial acetic acid, refined sugar, coconut water (or coconut juice), and nata starter. Mix well until the sugar is fully dissolved.
- Pour the mixture into clean and sterile fermenting basins or jars, ensuring a depth of about 2 inches. Leave some headspace in the containers to allow room for expansion during fermentation.
- Cover the basins or jars with a clean cloth or lid, but do not seal them tightly. This allows for proper airflow during fermentation. Place the containers in a warm and undisturbed location.
- Let the mixture ferment for approximately 12 to 14 days. During this time, the nata de coco will develop and thicken. It’s important not to move or disturb the containers during fermentation.
- Once the fermentation period is complete, carefully harvest the nata de coco from the containers. Gently wash the nata cubes to remove any residue.
- To eliminate any remaining acidic taste or smell, soak the nata de coco cubes in several changes of fresh water. The soaking process typically takes at least 2 days, but you can adjust the duration based on your preference.
Now you have homemade nata de coco ready to be incorporated into your favorite dishes! Enjoy using it in salads, cakes, ice cream, or any other creative culinary applications you desire.

